From backing track to one-man band
Using a Looper for Practice and Performance
Loopers have moved beyond the domain of bedroom experimentation and ambient explorers. These days, they're essential tools for practice, songwriting, and even live performance. Whether you're working on timing, trying out song ideas, or layering sounds live, a looper might be the most versatile purchase you make. The secret to mastery isn't recording more layers—it's knowing when to stop.
The Best Match for Your Style
One knob, five minutes of loop time, zero menus. Perfect for quickly checking harmonies. Note: base model has no storage slots; upgrade to Ditto+ to save loops for next session.
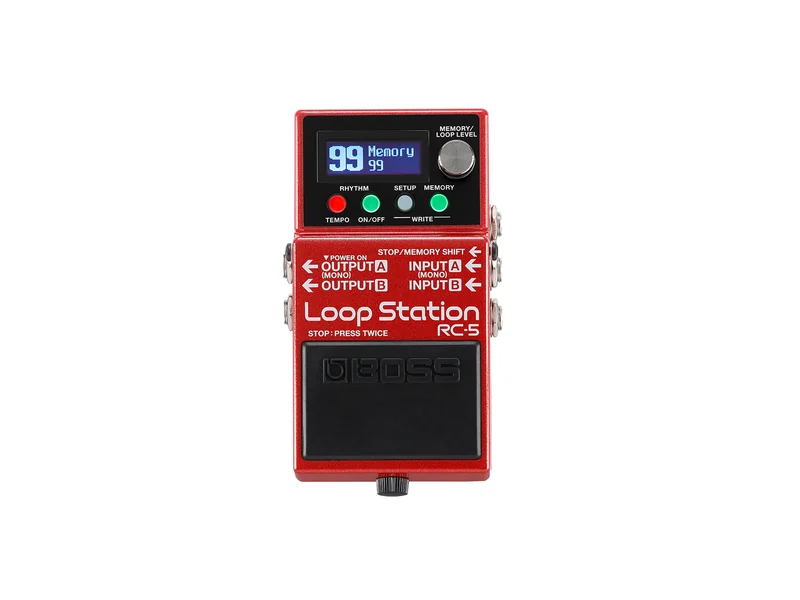
RC-5 Loop Station
Boss
32-bit high-definition audio with 99 memory slots and built-in drum machine. Save backing tracks and return to them tomorrow. The gold standard for songwriting.
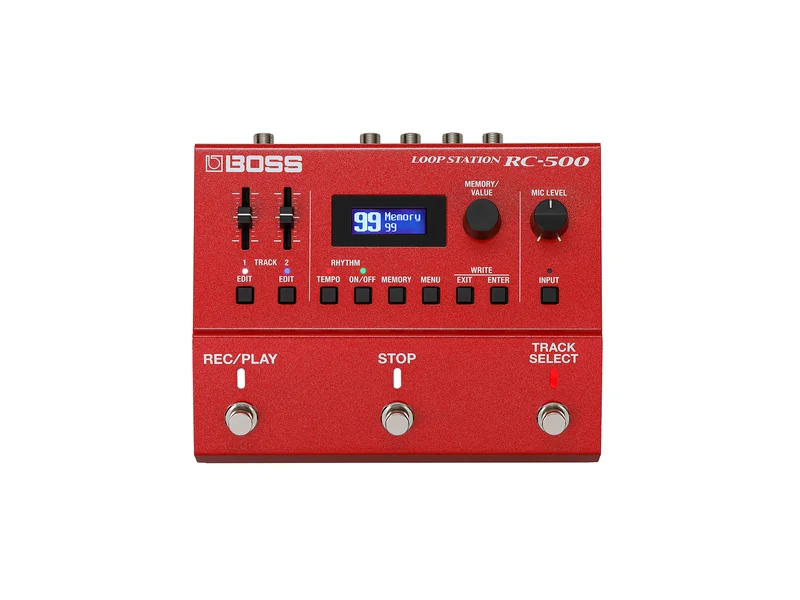
RC-500 Loop Station
Boss
Dual independent tracks (Verse/Chorus recording), XLR mic input for vocals, drum machine, effects. The modern RC-30 successor. Professional performance weapon.
Simple, affordable, reliable. Saves 11 different loops. Great for learning looper fundamentals without breaking the bank.
For Practice: The Infinite Backing Band
The most underrated use for a looper is as a practice tool. Record a chord progression or riff at a comfortable tempo, then practice solos or improvisations over it. It's like having a backing band that's always available—one that plays exactly what you want, at exactly the tempo you need.
Being able to save loops means you can come back to them tomorrow and continue where you left off. This is why models with memory slots are superior to single-track loopers for practice.
For Songwriting: Capture Ideas Instantly
You know that riff you came up with at 2am but forgot by morning? A looper captures it instantly. Record the idea, play it back, build around it, and suddenly you have a song skeleton.
This is where multi-track loopers shine—you can record a bass line, add drums, layer harmony, all without losing the original idea.
For Live Performance: Layer with Purpose
Some players use loopers to create full arrangements on the fly—layering intro, verse, chorus, solo. Others use short loops for subtle enhancement. The key is knowing what you're trying to achieve.
Loops can quickly become self-indulgent and muddy if you're not careful about layering.
The Secret to Professional-Sounding Loops: Frequency Slotting
The biggest complaint beginners have is: "My loops sound like a muddy mess after three layers."
The solution is frequency slotting. Don't play three parts in the same spot on the neck. Instead:
- Record a bass line on the low strings (E-A strings)
- Add chord rhythm in the middle (D-G strings)
- Layer a melody up high (B-high-E strings)
This keeps your loop sounding like a real band instead of a wall of noise. Each part occupies its own frequency space, making everything clear and defined.
Features That Matter
Undo/Redo — Essential for when you mess up, or for clever mid-performance "Verse/Chorus" switching (undo the chorus to go back to verse)
Loop Length — 30+ seconds is ideal for arrangement work; 10-15 seconds works for simple practice
Memory Slots — Lets you save backing tracks and return to them later
Overdub — Layer additional parts without erasing previous layers
Built-in Rhythms — Drum machine keeps your timing locked for songwriting and live performance
Advanced Trick: Undo as a Performance Tool
In live performance, savvy looper players use Undo creatively. Record a verse, overdub a chorus, then "Undo" the chorus to go back to the verse. It's a clever trick for creating dynamic arrangements with a single-track looper without having to manually re-record.
Next Step
Master the looper. Next, explore the advanced reverb techniques that define a genre.
Read Part 11: Best Reverb Pedals for ShoegazeIf you found this useful, consider buying us a coffee
Support the project